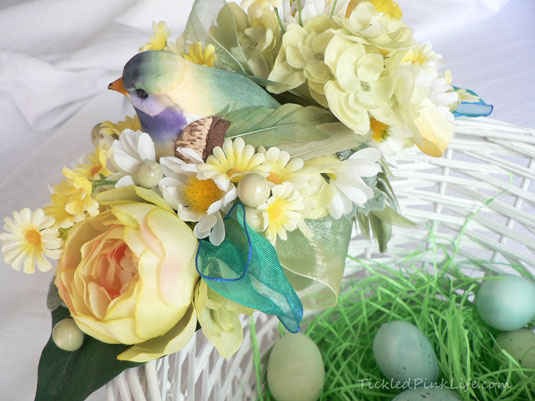
 A few months back I featured my bird nest teacups in a Do-It-Yourself craft post. Well today, we’re going to cover a spin-off from that project. In just a few steps, I’ll show you how to use the same theme to create wonderfully custom Easter baskets!
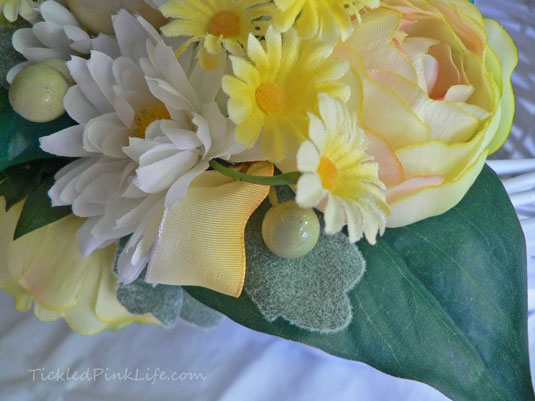
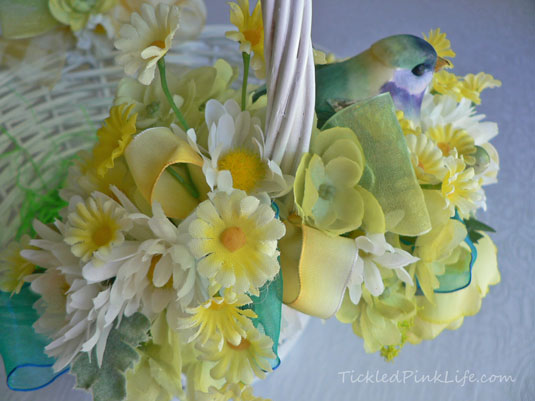
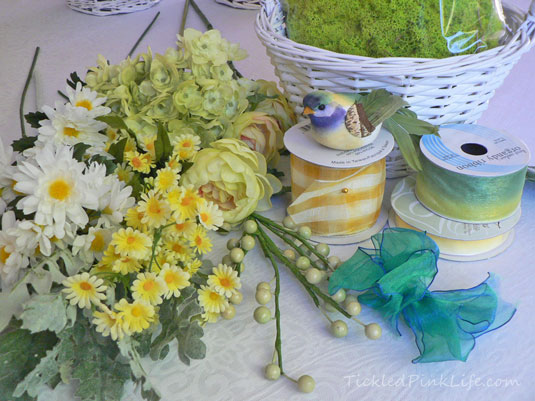 First, you’ll need a basket. I like to start with a sturdy white painted wicker, because the white lends itself to multiple color schemes. Next, I’ll gather a collection of silk flowers, leaves, berries, ribbons and a bird, in complementary colors. I found some happy daisies in yellow and white, some sweet yellow roses, and some delicate green hydrangea. I will pair these flowers with ribbons of country yellow plaid organza, a shimmery teal organza, an ombre green organza, and an ombre yellow French ribbon. An integral part of the nest is the lime green reindeer moss, which you can find at Save-On-Crafts. The flowers, birds and baskets for this project were purchased at Michael’s. All elements were glued into place with a hot-glue gun, and I used some Chenilles to make ribbon tufts, but craft wire can be used as well.
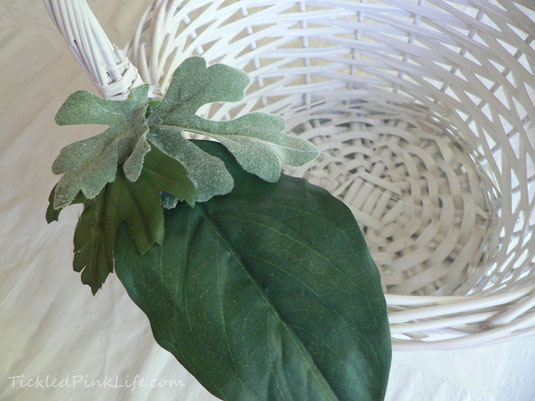 The first step is to start a base for the nest on the basket rim, up against the handle. Since the hydrangea leaves are large I use those first, followed by some Dusty miller and some smaller leaves to give more width to the base.
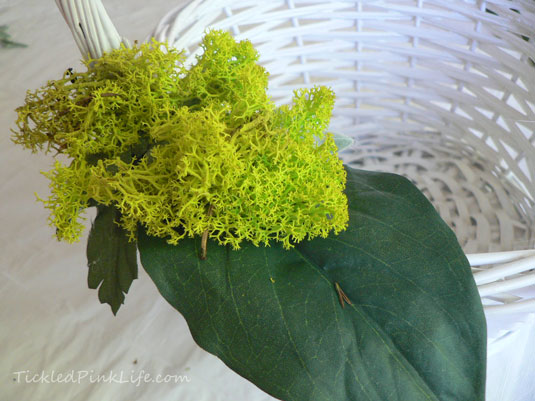 Reindeer moss will make up the bulk of the nest, providing a high point for the bird, so that flowers and other elements can be filled in around him.
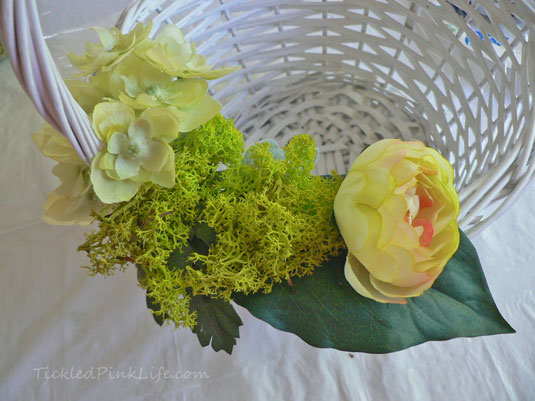 Larger flowers serve as anchor points to give shape and support to the nest. I use hydrangea to give some height to the back of the nest, and a rose to give it support at the front.
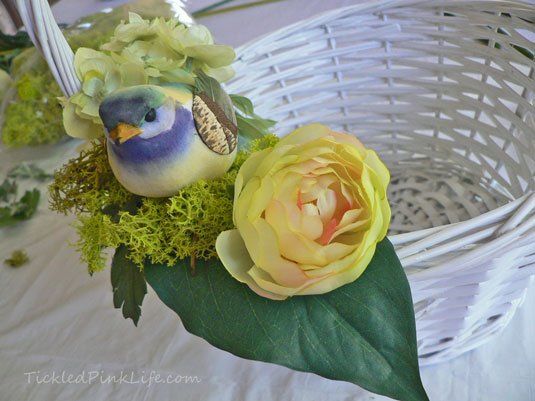 The bird is glued to the center of the nest. If needed, more moss can be tucked in around him, so that he sits flat.
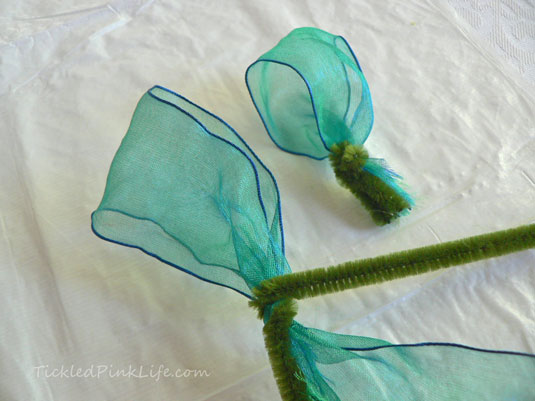 Now I use small pieces of Chenille stems to make ribbon tufts. These are just small loops of ribbon, pinched at the bottom with a piece of wire.
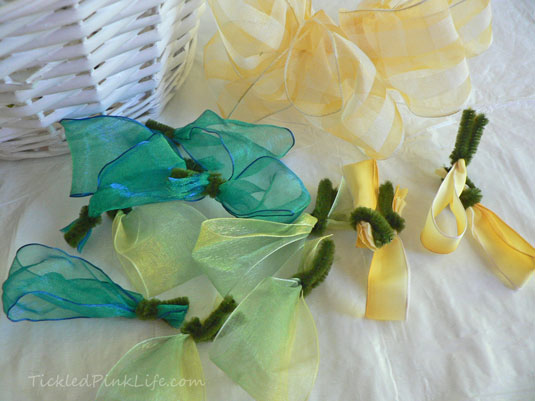 I use the plaid organza to make a nice bow, and use the other three ribbons to make tufts.
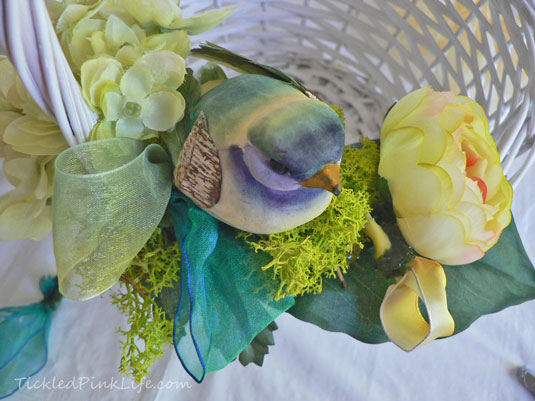 Ribbon tufts are inserted into the nest, similar to the anchor flowers. Some are tucked under the bird while others might be glued further down the main leaf. Don’t worry about the exposed end of the tuft on the leaf, as it will be covered over by other flowers later. The idea here is to distribute the color and direction of the tufts evenly throughout the design.
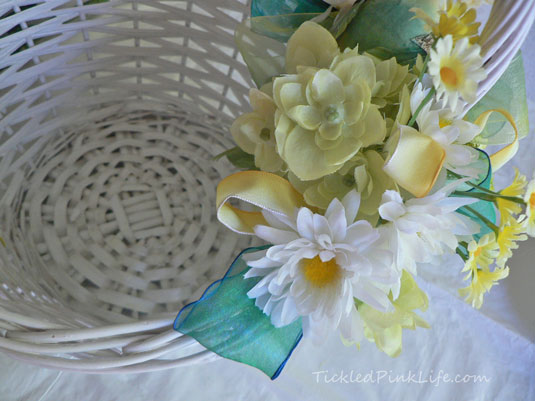 The white daisies and hydrangea are now glued into the empty spaces. A similar theme of taller flowers against the basket handle and smaller flowers, leaves and ribbon tufts extending forward, is applied to the basket rim behind the nest. I try to vary the placement of flowers so that the design looks balanced, both with respect to color and flower size.
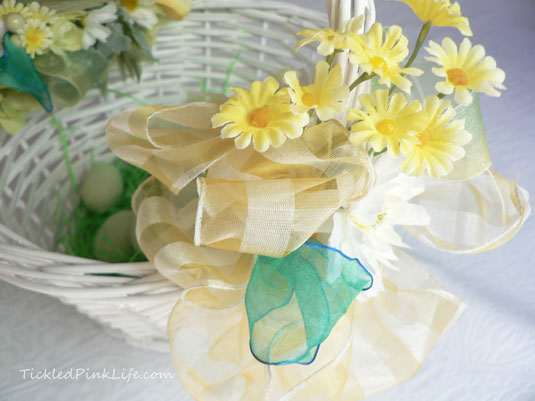 The bow is glued to the opposite handle base, and flowers and ribbon tufts are inserted into the empty spaces to cover over all glue points.
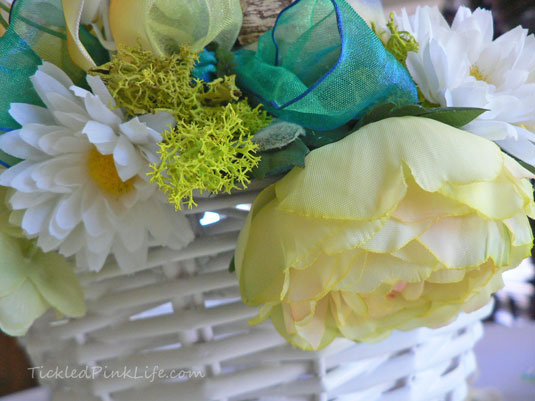 Where needed, flowers or leaves are glued upside down under the base to cover all glued connections between the bottom of the design and the basket rim.
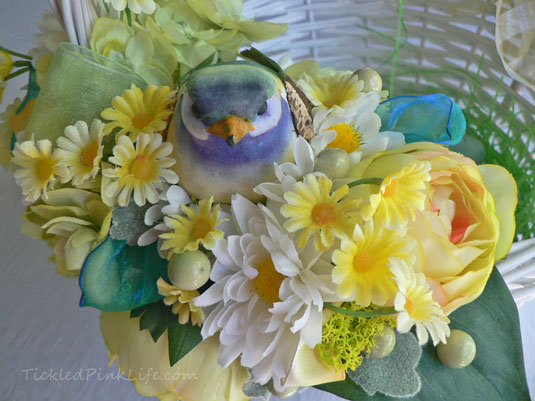 The last step is to fill in the very smallest spaces. For these I use yellow daisies, small pieces of Dusty miller, and the green berries.
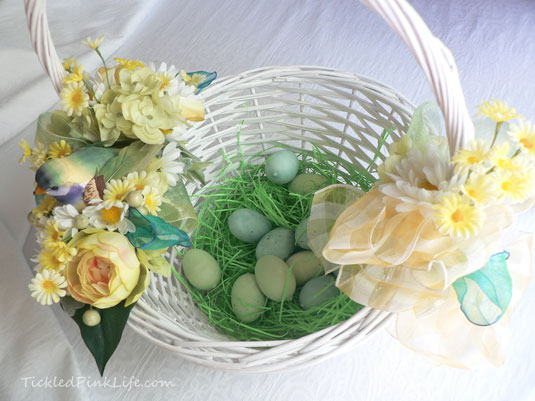 The finished basket is a work of art, and makes a lovely and very thoughtful gift.
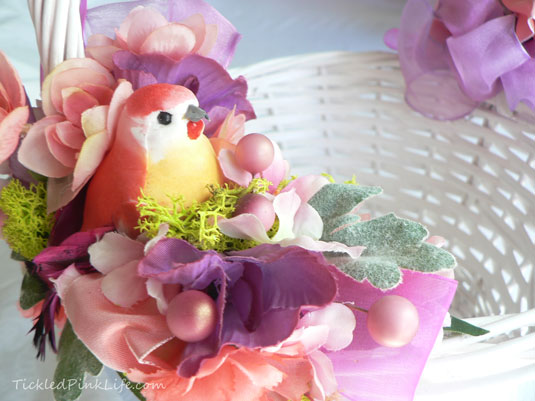
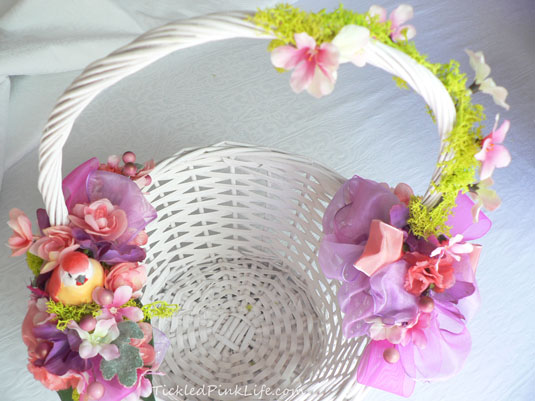
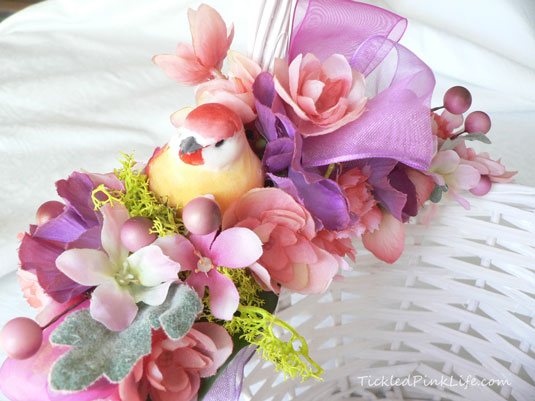
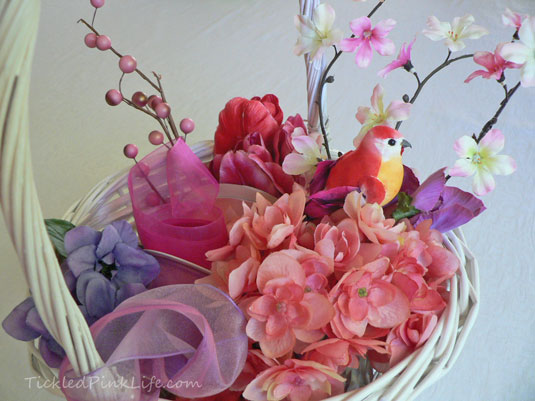 In a second basket, I gathered together elements of fuchsia, violet and salmon pink.
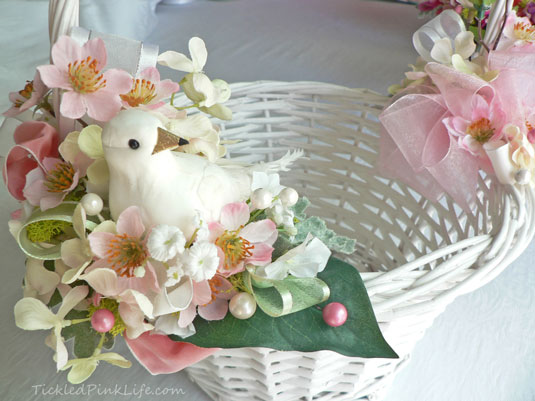
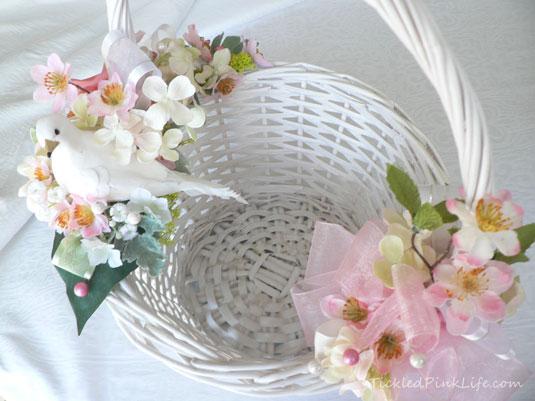
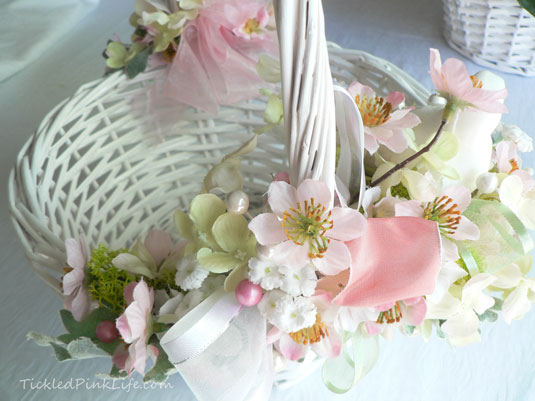
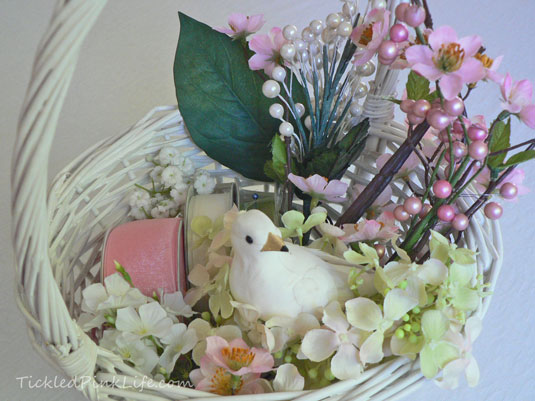 A third basket focused on colors of soft pink, sage green and pearly white.
 This project is fun to complete, and the design options are endless. Using a few of the basic principles described here, you can create your own beautiful, custom Easter baskets for those special people in your life. They will be thrilled!
On the journey toward Home,






{ 2 comments… read them below or add one }
Simply adorable!
You can never have too many little bird friends!