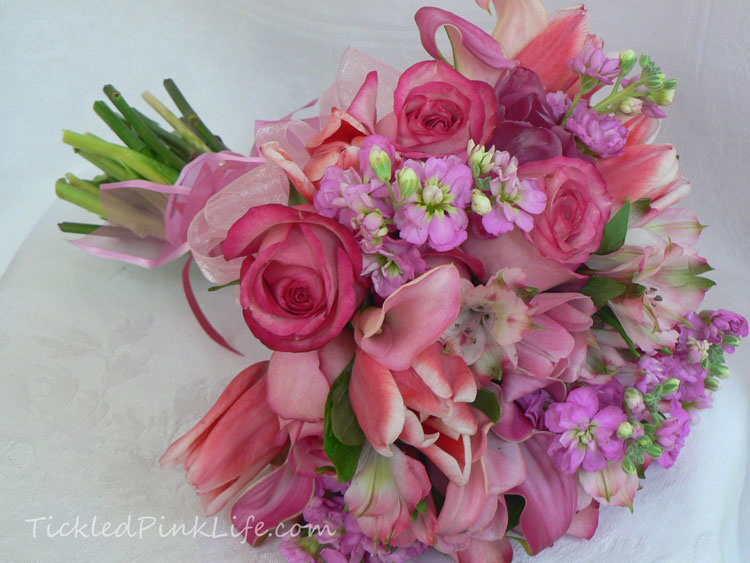
 In today’s Do-it-Yourself world, many brides are taking a hands-on approach to wedding decorations and flowers. This post will cover step-by-step instructions for making a hand-tied type bridal bouquet. While a true hand-tied bouquet is a little more complicated, these tips will provide some easy short cuts to achieve the same look. The instructions are for fresh flowers, but the assembly and wrapping techniques can be applied to silk bouquets as well.
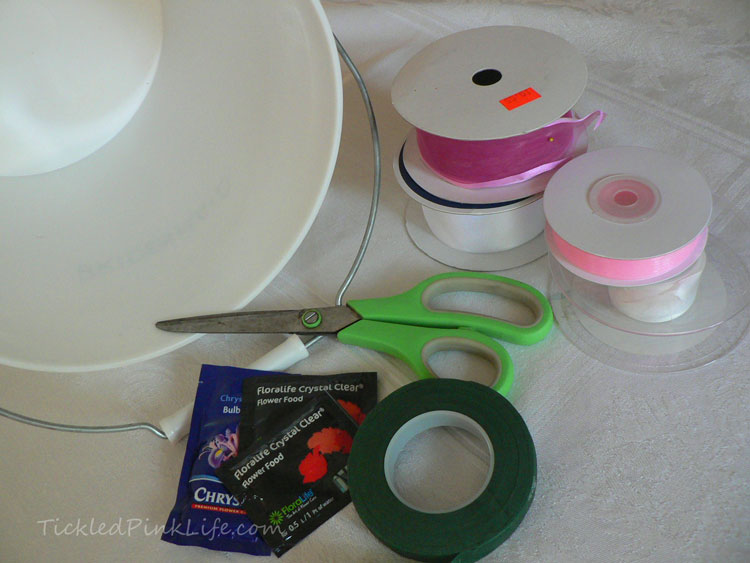 Materials and supplies: You’ll need fresh flowers of course, a clean bucket for hydrating, flower food, water, floral tape, ribbon, and some sharp scissors.
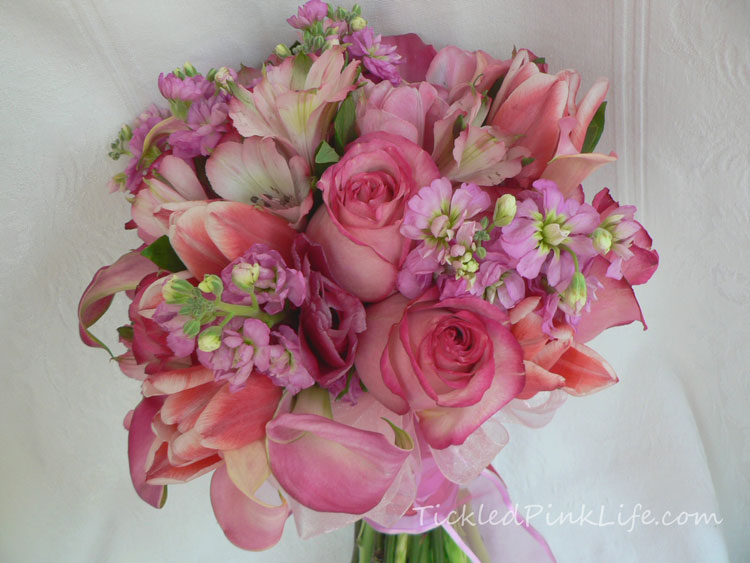
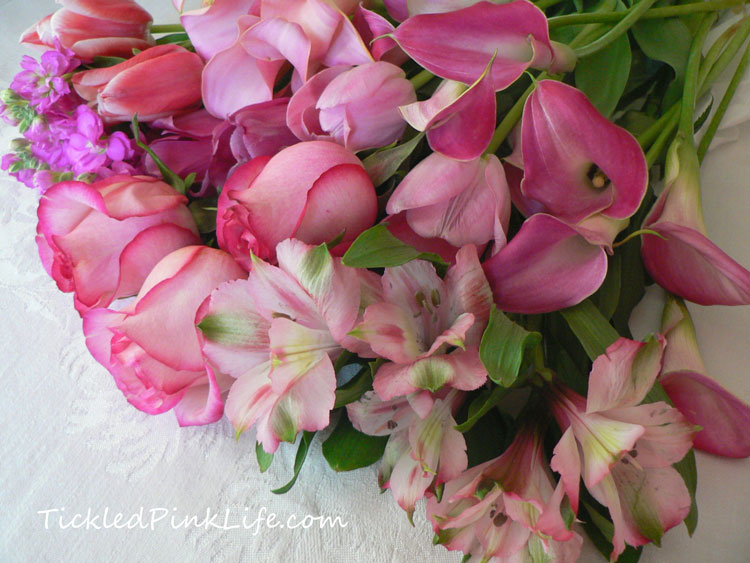 Flower selection: Using flowers of different sizes and textures will make a more interesting design rather than creating a full bouquet of the same flower. Select one or two medium sized focal flowers and then some smaller flowers to fill in spaces between the focal flowers. In this example, we’ve chosen multiple shades of pink (monochromatic), using roses, alstroemeria, stock, tulips, and calla lilies.
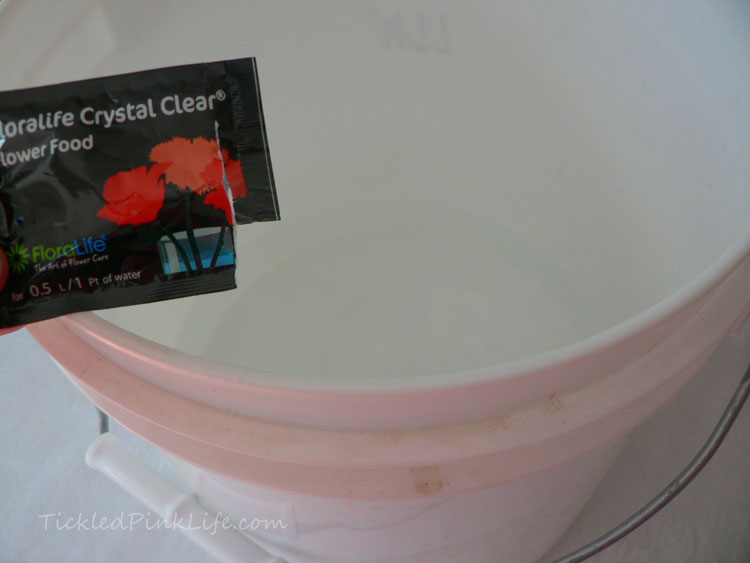 Preparation and hydration: Whether flowers are purchased at the flower market, the supermarket, or cut from your own yard, the first order of business is to hydrate. This is a simple but important step that will extend the life of the flowers. Prepare a clean bucket with about 3 inches of water mixed with floral food. Commercial grade floral food is generally available at flower markets, but is also frequently attached as a small packet on store-bought flowers. Follow the directions on the package.
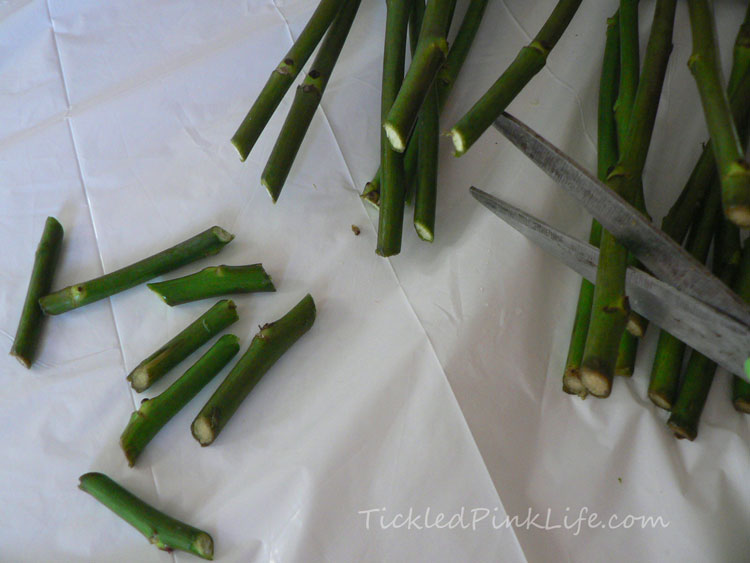 With a sharp knife or scissors, cut stems about one inch at an angle, and immediately place into the prepared water. Allow flowers to hydrate for at least an hour.
Design and assembly: The goal here is to give the bouquet a nice round shape and to make the distribution of color and texture even on all sides. As you begin to assemble, remove extraneous leaves and rose guard petals (the outermost petals). For stock-like flowers, remove the lower foliage.
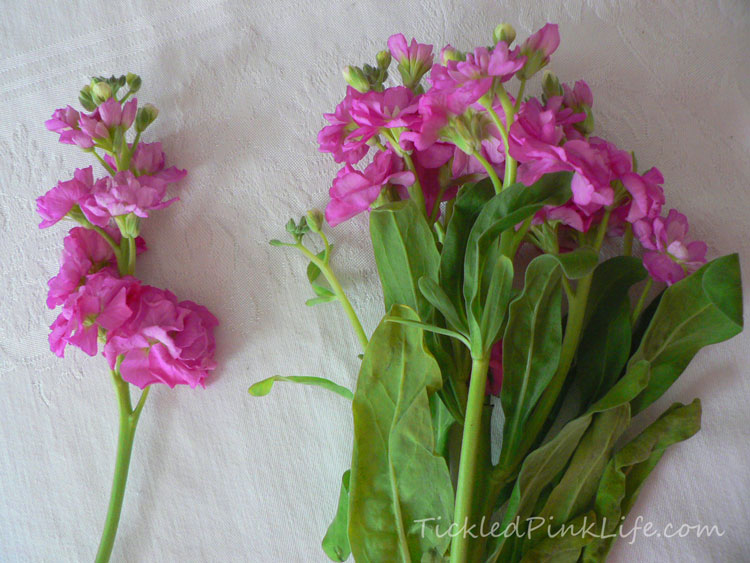 Start with a small cluster that will be the center of the bouquet, and wrap with floral tape.
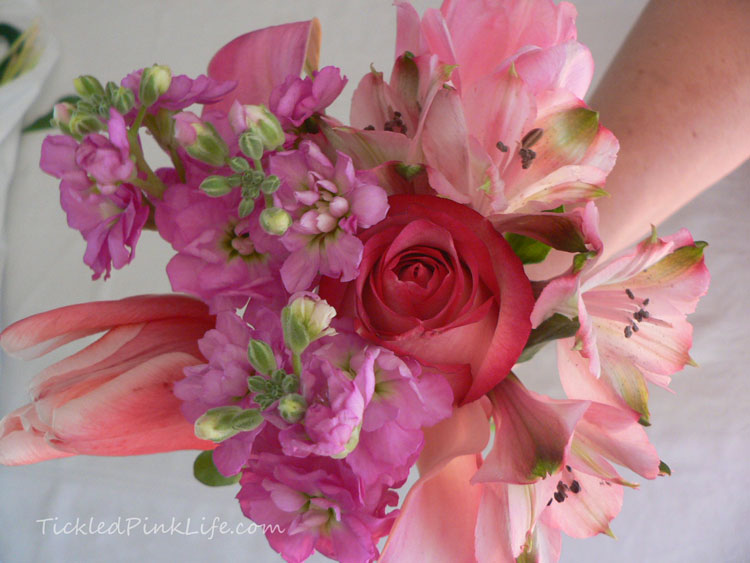 Prepare additional small clusters of 3-4 flowers each, and wrap with floral tape.
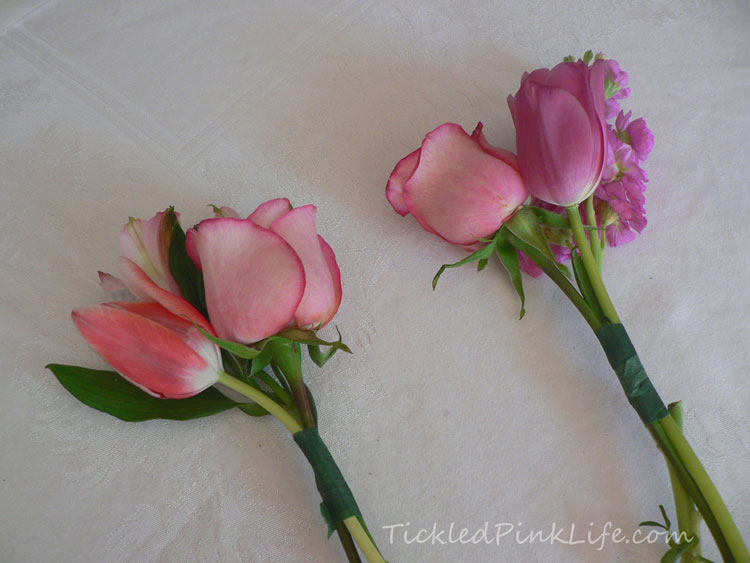 Arrange the smaller clusters around the center, one at a time in a circular fashion, wrapping with floral tape as you go. Each cluster should be paired with the center at an angle. This is what will give the bouquet a round shape.
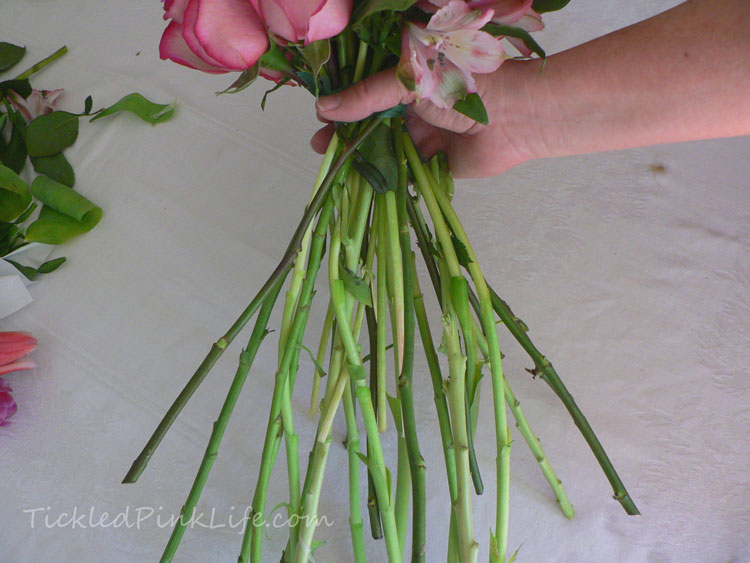
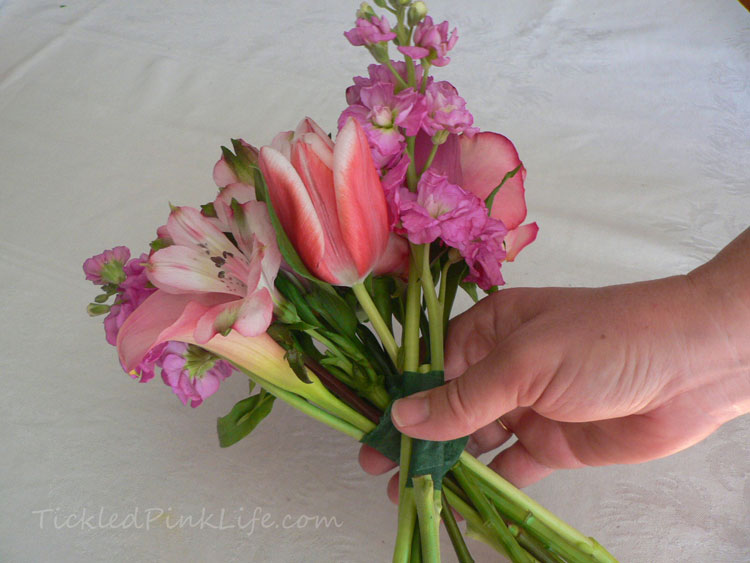 After several clusters are added, the round shape of the bouquet will be evident, and the stems will be spread out in all directions.
Single stems can be added at the end to fill in any “holes,” and then a final wrap with floral tape to reign in the stems. Once wrapped, the stems can be cut to make a suitable handle of about 8 inches.
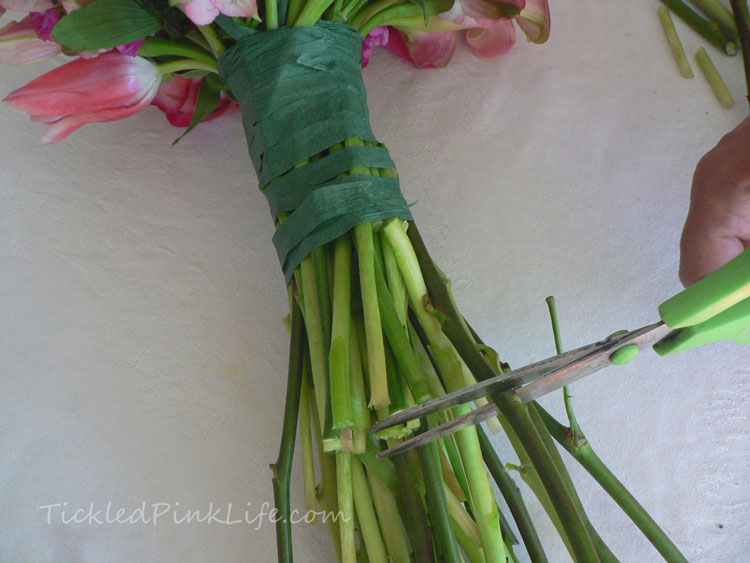 Ribbons wrapping: The floral tape is covered by wrapping the handle with a wide ribbon. We wanted to use a pink organza ribbon which is fairly transparent, so we wrapped first with a double faced white satin. Start with a length of ribbon about 12 inches above the handle area, leaving the ribbon on the roll through this process. Fold the ribbon at a 90 degree angle just below the bottom of the floral tape on the handle.
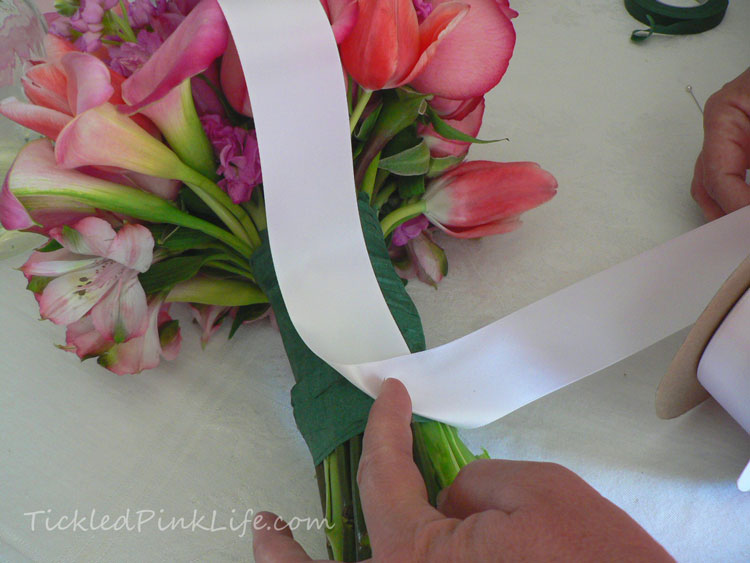 Wrap the ribbon around the handle, moving it upward as you continue around until the wrap reaches the top.
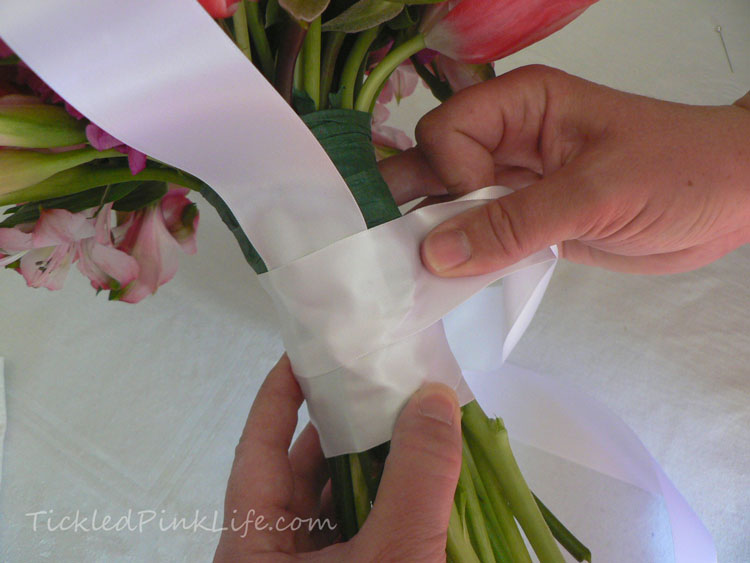 The ribbon may need to be twisted to keep it tight and it will partially overlap itself as it moves up. At the top, hold the wrap with your thumb, extend the ribbon length out another 12 inches and then cut it from the roll. Tie the two lengths together in a double knot to keep the wrap tight.
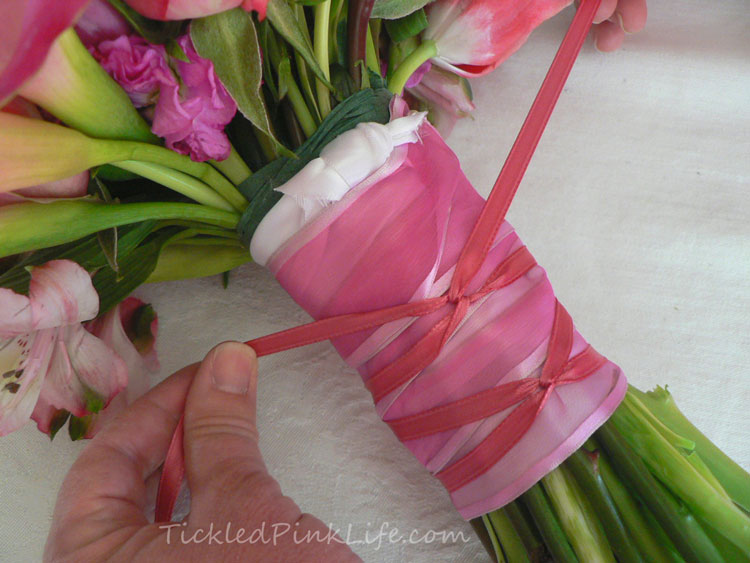
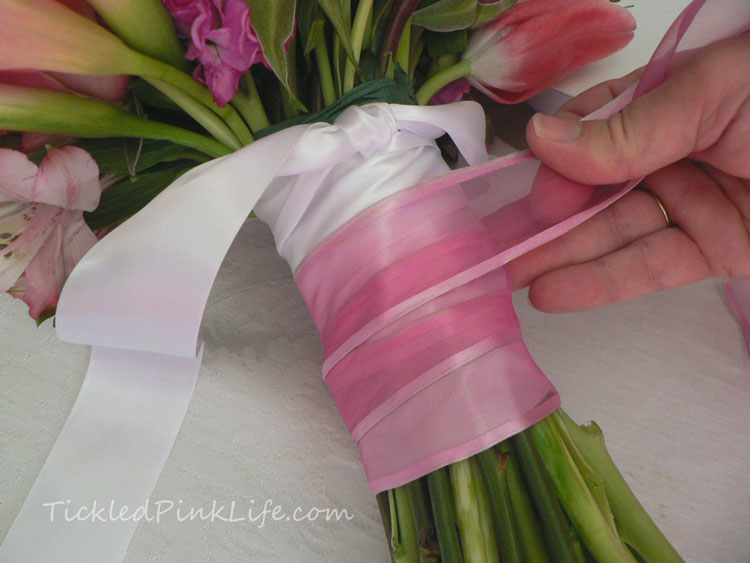 The two remaining ribbon lengths can be tied again to form a bow, or used as streamers. In our example we wanted a pink bow, so we cut them off. A second ribbon overlay and pearl pins make decorative accents on the handle.
 The finished bouquet can be lightly misted and should be stored in a cool area until needed. Since the stems are still exposed, a heavy beer glass or mug with a bit of water can keep the bouquet nicely hydrated, and keep it from getting crushed until it is ready to be used.
We hope you found these tips useful and informative! Special thanks to my sister Lori, for her expertise and help with this post! You can find all of her wedding floral creations at her web site, The Gardens at Pemberley.
I’m linking up with Tip Me Tuesday!
And Handmade Tuesdays!
And Pink Saturday!






{ 6 comments… read them below or add one }
Although I’ll have no need of your bridal bouquet tutorial I enjoyed it anyway! The flowers are truly gorgeous and it would be a very lucky bride indeed who got to carry this bouquet down the aisle.
bon weekend
Maggie
Thanks Maggie! It was fun to make!
Pink is my favorite color. I love the flower bouquet! Great post!
Thank you Daisy!
Your writing about making a gorgeous bridal bouquet is very effective & the easiest way. I like your post. I will be glad if you visit my website to get ideas about bouquets. I hope you will be benefitted. Best luck.
Thanks Sarah, I will!