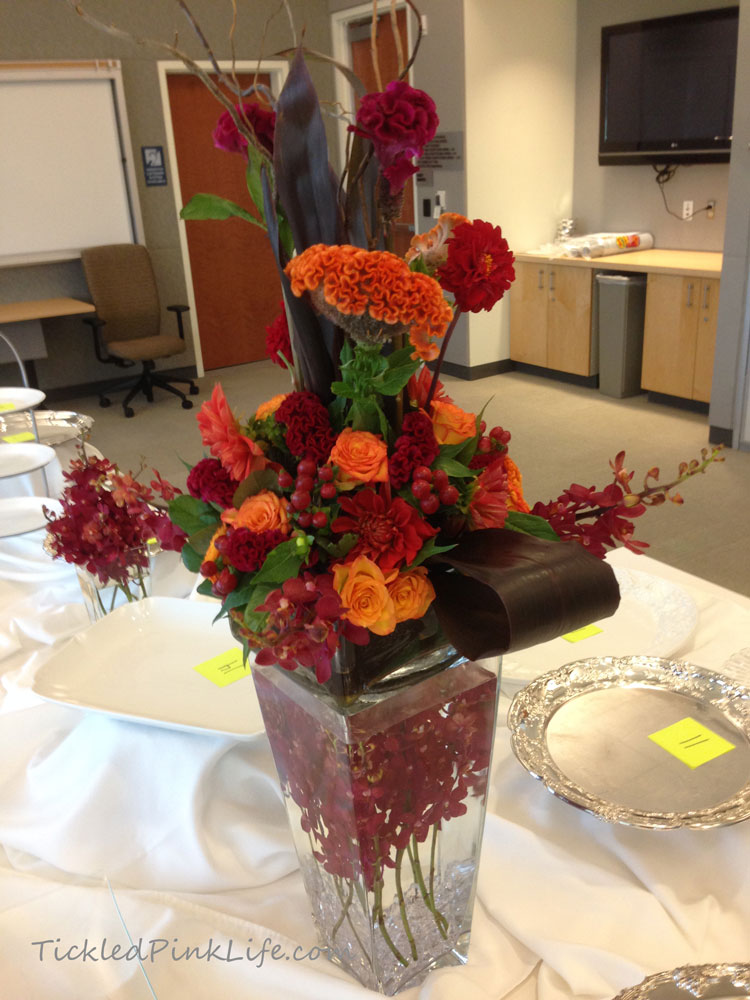
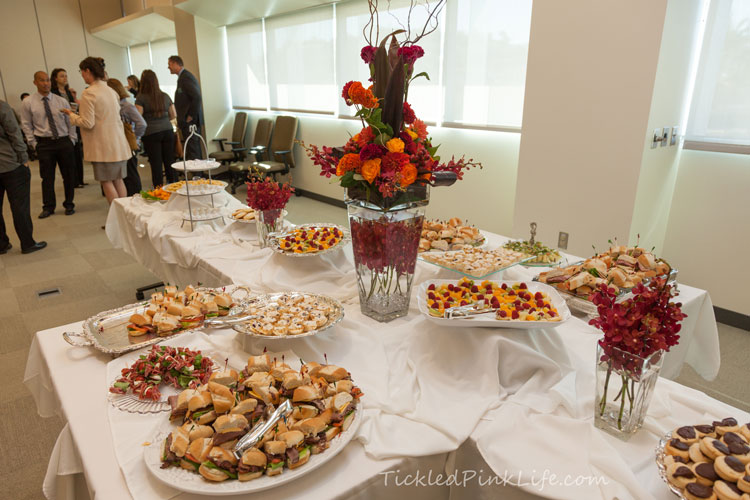
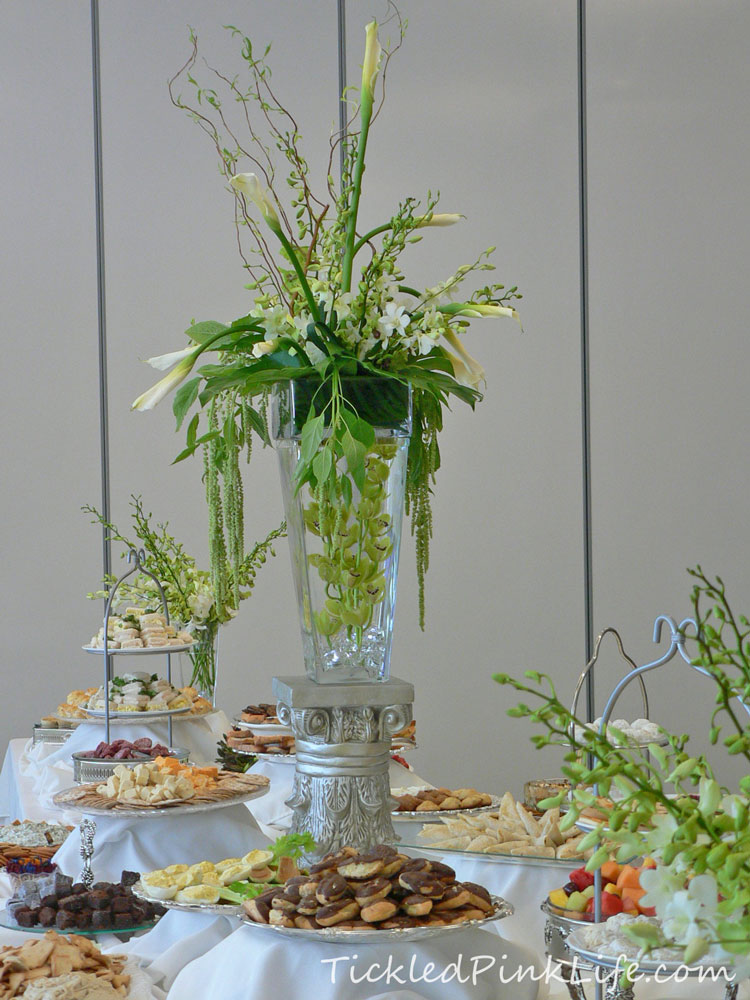
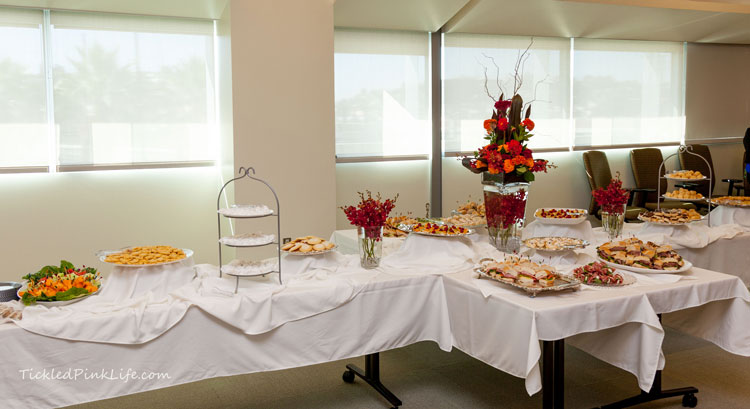
 A few years ago I coordinated a large open house event at work, to celebrate the retirement of a high level manager. Due to his rank, hundreds of invitations went out to colleagues and dignitaries. The goal was to serve food and beverages for 200-400 people who would wander into the venue over a period of four hours. And if that wasn’t challenging enough, it all had to be provided on a shoe-string budget! So, were we able to pull it off? Yes! Thanks to some volunteers, a bit of planning and a lot of organization, my small team hosted a very elegant buffet. These pictures are from that event.
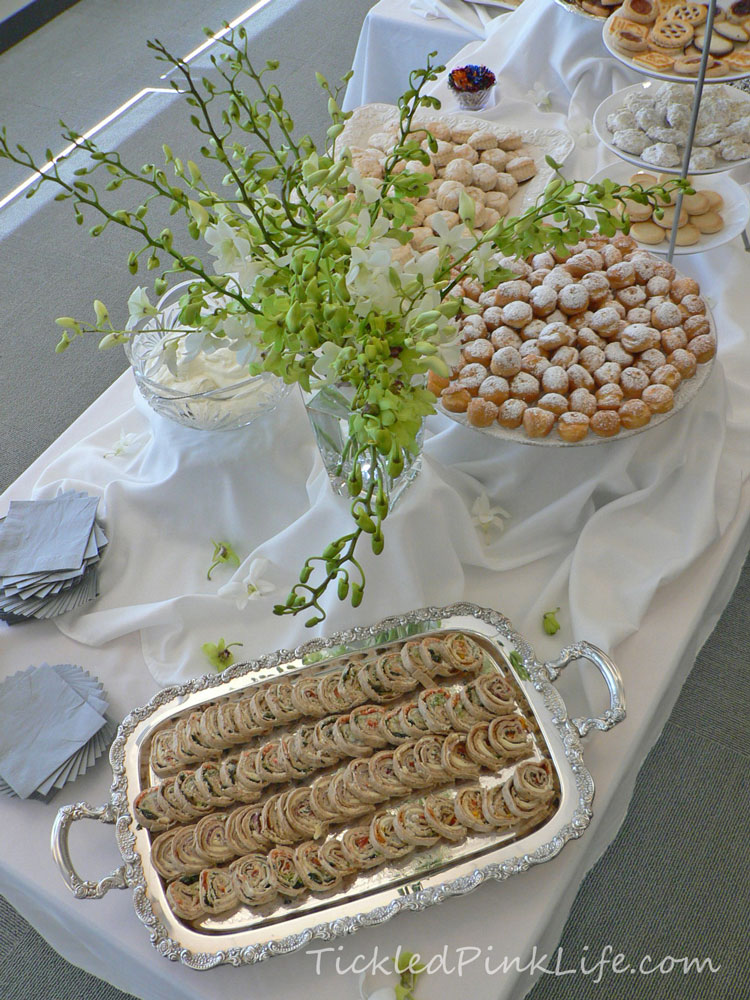 So recently, my supervisor asked if I would again coordinate a nice buffet to follow an important ceremony at work. Although this event would be smaller than the last and over two hours instead of four, there was literally no budget at all so my organizational skills were even more necessary! In this post, I thought I’d walk you through the process I used to pull this event together. Hopefully I can share some helpful tips that you’ll find useful when planning your own event.
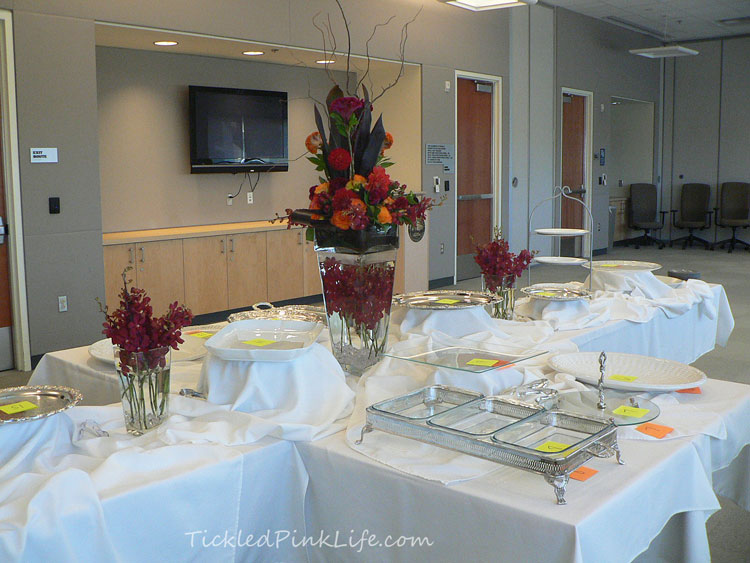
Buffet table: I used four conference tables pushed together to form a square center with two side arms, making a double-sided buffet. The first step is to determine the overall size and configuration of the table and whether the buffet will be served from one side (like up against a wall) or from two sides. When configuring tables, consider the distance guests will have to reach to access platters.
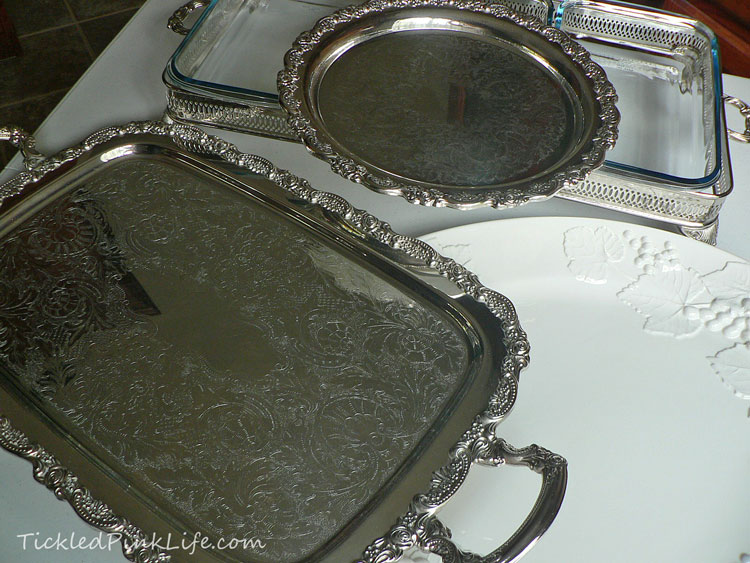 Serving pieces: For both events I used silver, crystal, and white ceramic to give the table a formal look. Two of the platters were plastic but had the appearance of leaded glass. Only a few of the pieces were mine; most were borrowed from my sister, and some from work colleagues. I ordered silver swirl plastic plates and decorative paper napkins online, and bought the cups at a local party supply store. Whether you borrow or rent, the goal here is to use styles and colors that are complimentary.
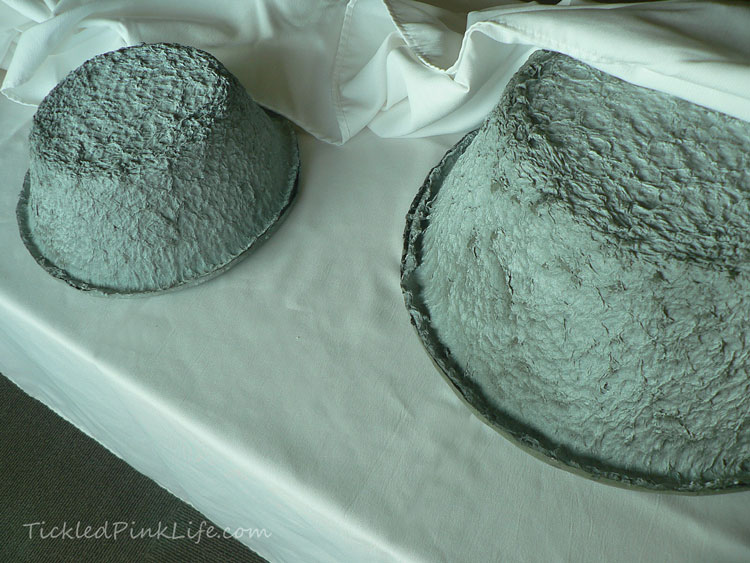 Tablecloths and risers: I purchased the tablecloths online for the first event, so I already had them on hand for the second. Tablecloths can be expensive but they are a one-time expense, or no expense at all if you can borrow them. I used eight rectangular tablecloths—four to cover the tables, and four to drape over the risers, which are then scrunched around the edges in a loose pattern. Setting platters at alternating heights will add interest to the buffet design. For risers, I used paper mache floral containers, which can be purchased from a floral supply vendor. These work well because they are inexpensive, uniform in size, light-weight, and sturdy. They also provide a wide base to put large platters on, alleviating fears that a plate may tip and fall off the riser. Large Tupperware-type containers will work just as well, as long as they are the same size if symmetry is important to your table design.
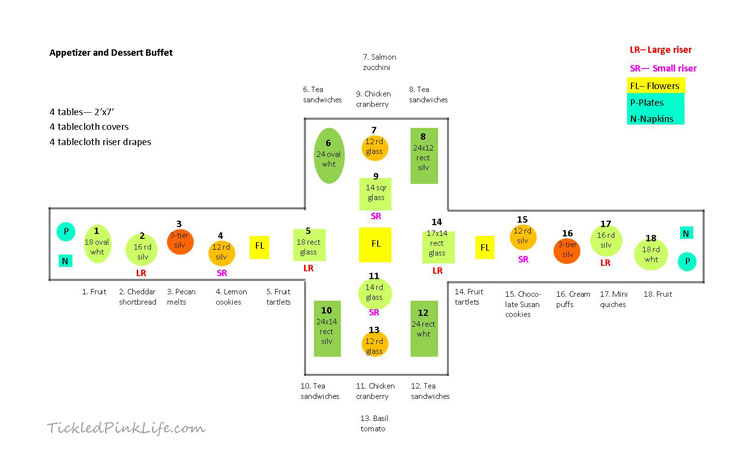 Serve ware placement: I started with a diagram, taking into consideration the dimensions of the table and the size of the serving pieces. It is essential to plan this out if you have a lot of pieces to coordinate. In our first event, I used 24 pieces of serve ware, and 18 in the second, so I measured each piece and planned the placement on paper before ever setting up the table. I prefer balance and symmetry, so I paired like-size pieces to be situated opposite of one another. For example, I had two 24 inch silver platters so I placed them at two diagonals. Similarly, risers and tiered servers were placed in opposite pairs so the table layout would be balanced. On the diagram, I also planned space for flowers, plates, and napkins. For all pieces, I worked to maintain a convenient reach distance for guests.
Menu: Since our event was an open house and guests would be served at different times, we chose an appetizer and dessert buffet with items that could be served at room temperature. And because we had a limited budget, most of the food was provided by employees who volunteered to bake or purchase what we needed. They’d tell me if they were bringing 50 mini cupcakes or 100 tea sandwiches, and I would make a list of each item and the number of pieces. While this may sound a bit silly, it was the only way to determine how much food we’d have, and whether or not we’d have enough. This was really important for the first event, since we thought 200 guests were likely, but knew 400 guests could show up. Food can be a huge expense when hosting a party, but with some organization of volunteers, it doesn’t have to be. And with all of the recipes now available online, even people with no cooking skills such as myself, can make all sorts of really tasty and professional-looking food.
Calculating the amount of food needed: Using 8-inch dessert plates, I estimated 6-8 individual food items per plate, and then multiplied that by the maximum number of people we expected. The benefit of serving food in individual pieces rather than something that can be spooned out, is that you get a much better idea of how many people the food you have will serve. For example, 6-8 appetizers per person multiplied by 300 guests is 1800-2400 pieces. This means I need to find 24 employees who are each willing to make 100 appetizers. For a large scale event, the list of who is bringing what and how many, really comes in handy! Using small plates is also helpful for keeping guests from shall we say, over-indulging at the buffet table! The goal for our two events was to provide light refreshments for guests while they mingled, so our food selections and plate sizes reflected that.
Assigning food to platters: Part of this exercise is determining how much food each platter can accommodate. The other part is to arrange food so that there is some sort of order to it. For example, I knew the tea sandwiches would take up a lot of room, so I assigned them to the four largest platters in the center square. Food items that required more than one platter were placed on opposite sides, again for balance. For our first event we had a back-fill room, where two helpers were assigned to re-fill platters as needed throughout the event. With people showing up at different times, I didn’t want guests to be confronted with half-empty platters because they arrived in the third hour instead of the first hour.
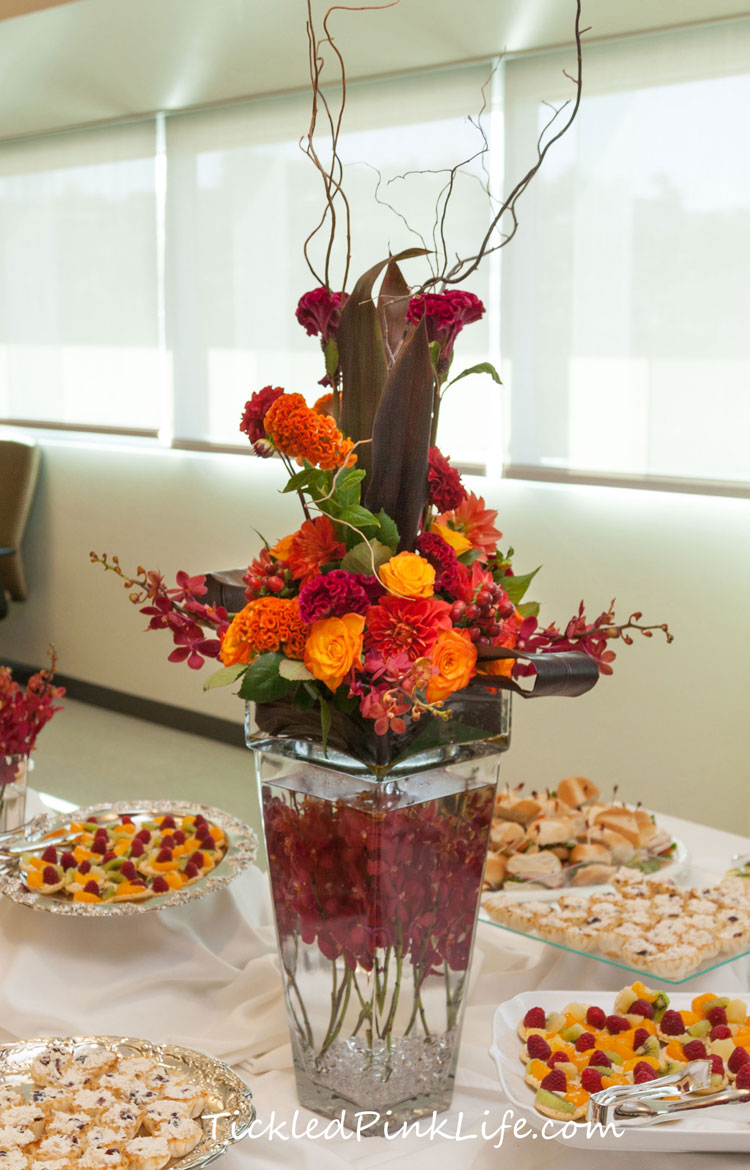
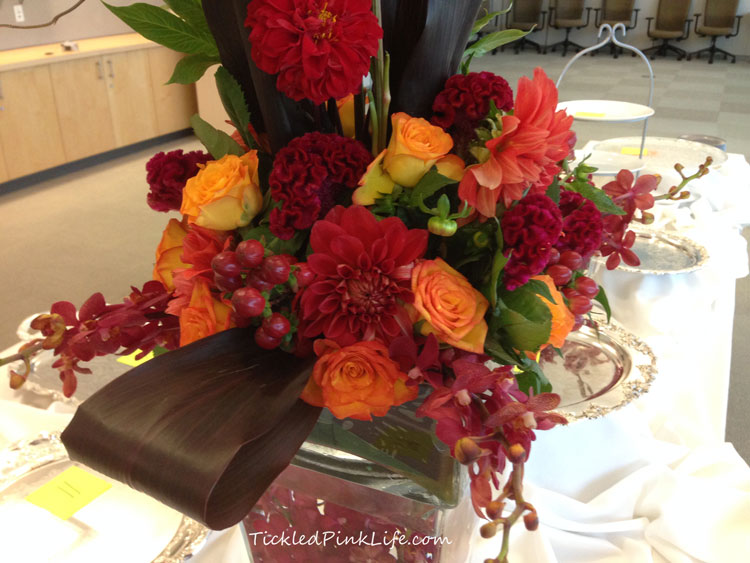 Flowers: For a table of this size, I thought a tall arrangement was needed. I used two vases to create a submerged design at the base and an elegant arrangement above. The bottom vase had submerged Mokara orchids, while the top was adorned with a fall festival of color! I used ti leaves to anchor the center, and then surrounded them with roses, dahlias, orchids, hypericum and celosia. A bit of curly willow gave it even more height. Two smaller vases of orchids were placed on the side arms of the table.
 Preparation timeline: Once the food was planned and the supplies procured, I prepared a set up schedule outlining each task that still needed to be done. The key to good organization is that everything goes on the time line. My schedule started the week before the event with cleaning and polishing of the serving pieces. The day before the event, I made a trip to the Flower Market downtown, completed the vase arrangements, and set up the buffet table. I knew the morning of the event would be chaotic, so I recorded detailed instructions for each food item; who was bringing what food and when, which items had to be kept refrigerated or frozen, and which food had to be assembled on site. Taking the time to consider the details and doing a little contingency planning in case something goes wrong, can keep you from having a big meltdown later if something does go wrong.
 Organizing help: It is really important to have adequate help on hand the day of the event. When I arrived at 6:30 that morning, my colleagues were already out in front of the building setting up for the ceremony. The unit delivering some of the food and all of the beverages was already there, and I was approached for instructions before I even got through the front door! It was really helpful to have a few people on hand to assist me. While I was dealing with other issues, they were able to finish some last minute food prep, actually plating all of the food items on their assigned platters, and refrigerating most of them so that everything could be placed within just a few minutes right before the reception started.
 Hosting these two events was a lot of hard work, but it was not as expensive as it could have been. We borrowed instead of bought and engaged volunteers instead of caterers. That saved us a ton of money and allowed us to host our elegant receptions on a shoe-string budget. It’s funny to hear the rave reviews from our guests who are convinced they attended a lovely catered affair, when essentially they came for pot-luck, but just didn’t know it! It’s all in the presentation…
