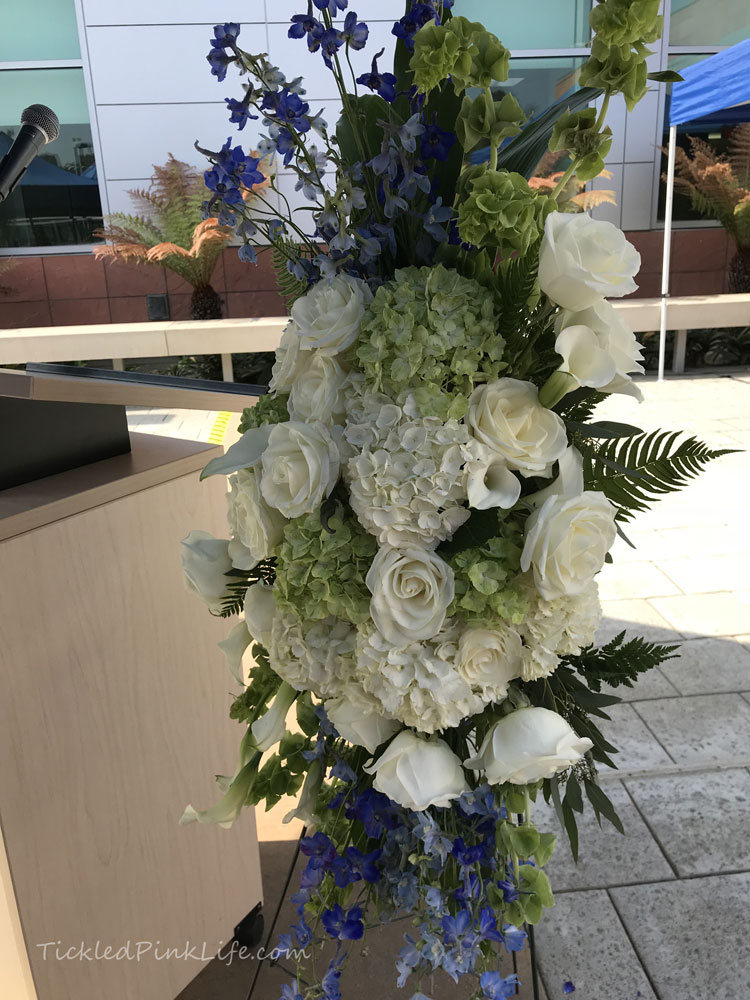
 A few weeks ago I had the opportunity to make a floral spray for a memorial service held to celebrate the life of one of my colleagues. Although I normally coordinate the delivery of sympathy flowers for our staff when their loved ones pass away, this unexpected death was more personnel and I wanted to craft the arrangement myself.
Although it does take a bit of prep work, motivated do-it-yourselfers with an eye for color and balance can certainly assemble a lush floral spray, and save money in the process.
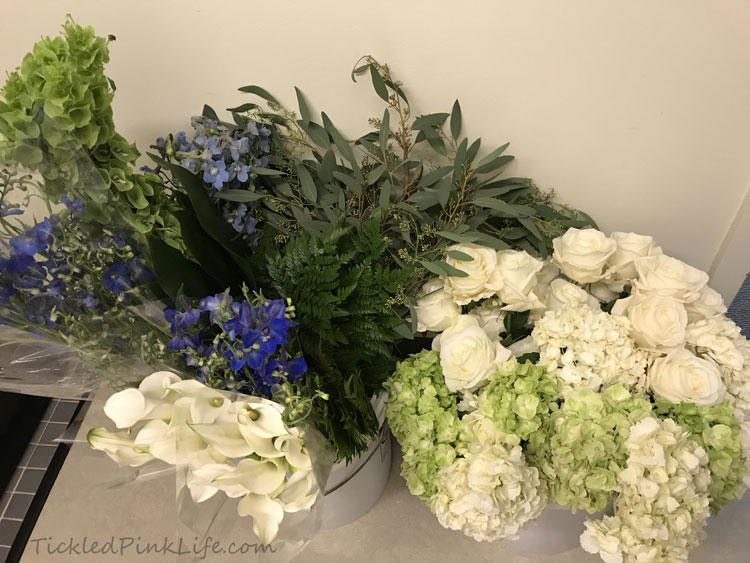 For this project I chose flowers and greens that would provide length at the top and bottom of the arrangement and then interesting texture for the center. These included dark and light blue delphinium, Bells of Ireland, aspidistra leaves, calla lilies, green and white hydrangea and roses. Additional greens included sword fern, seeded eucalyptus, and leather fern.
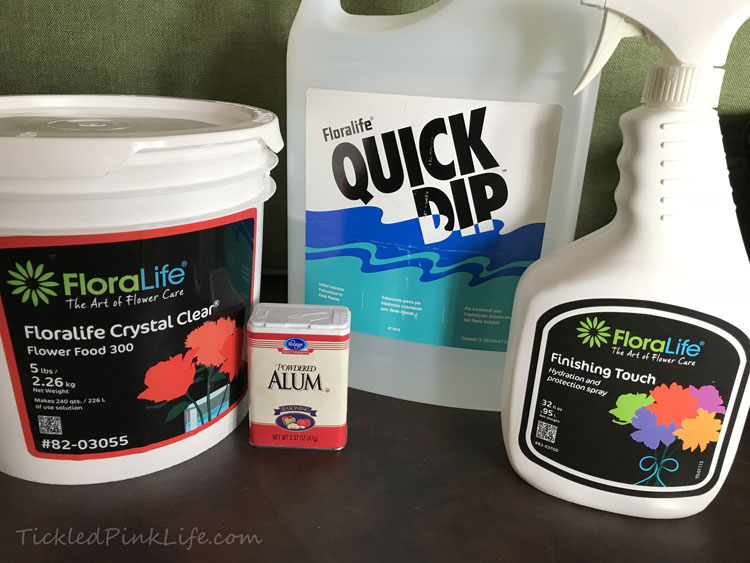 Supplies included clean 5-gallon plastic buckets and flower food, a caged oasis block, some wire, and a floral stand. For this project I also used floral chemicals that assist with hydration. Chemicals and supplies can be purchased from online retailers like FloraLife.
I filled the buckets with 3-4 inches of cool water and dissolved flower food in each one, following the directions on the package. The flower stems were re-cut at about 1 inch, and immediately placed into the buckets. Hydrangeas need special attention as they wilt easily if not properly hydrated.
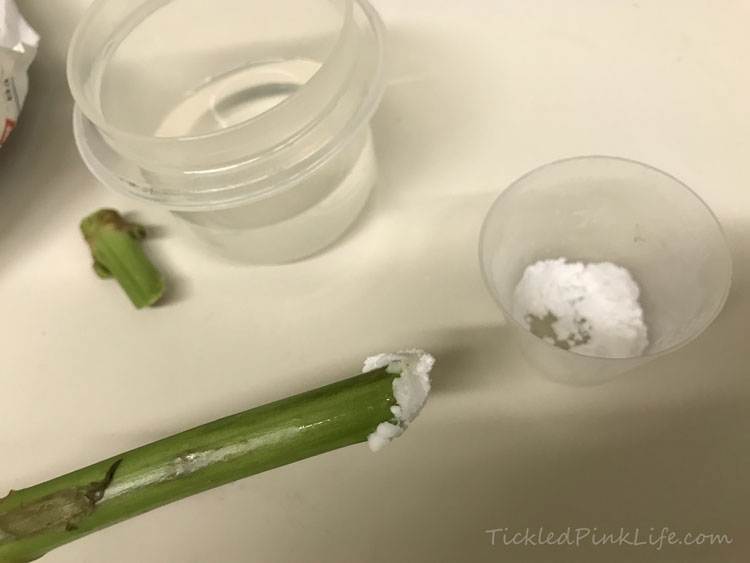 Quick Dip and Alum (a spice) help to keep stems open for fuller hydration. To prep the hydrangeas, I re-cut the stems, and dipped them into Quick Dip and Alum before placing them into a bucket of cool water with flower food. All of the flowers were left to hydrate for about two hours in a cool room.
To prep the oasis, I used wire to secure the cage front to the plastic back as a precautionary measure to ensure the two pieces (which snap together) would not accidentally come apart while I was inserting flowers. The oasis cage was soaked in water for several minutes until fully saturated. For this spray, I used the Oasis Jumbo cage, which is about 14 x 7 x 4 inches tall, wide, and deep, respectively. To work at the best viewing angle, I used the flower stand to hang the cage. Be aware that water will leak out as flower stems go in so it’s best to have a towel under the stand during assembly.
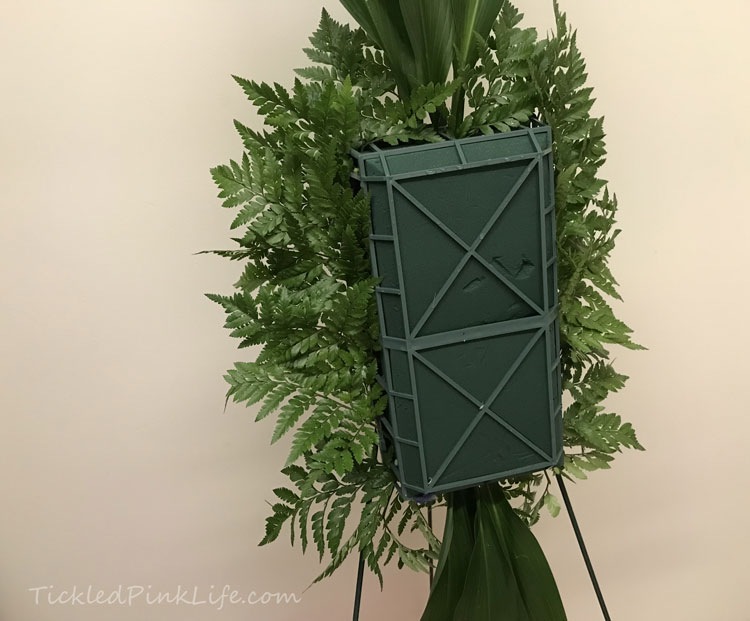 I started by establishing the vertical length with aspidistra leaves and then greening up the outside edge of the cage with leather fern.
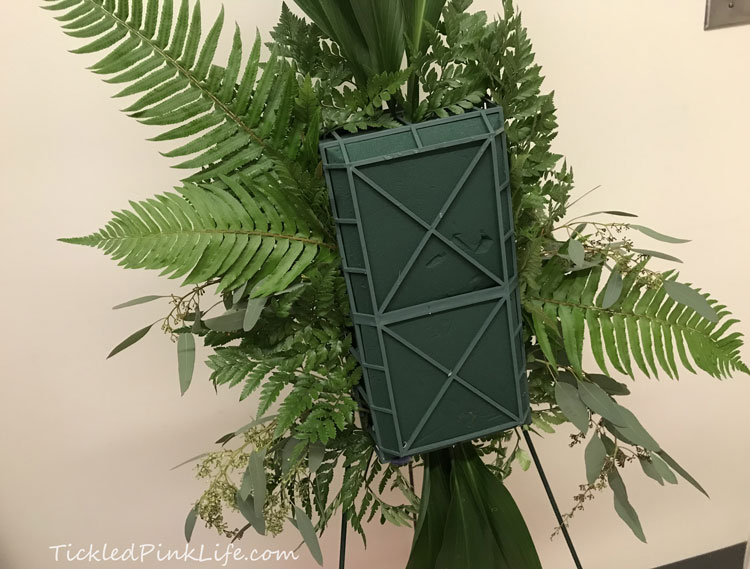 Next, I added some seeded eucalyptus and then used sword fern to start defining the width.
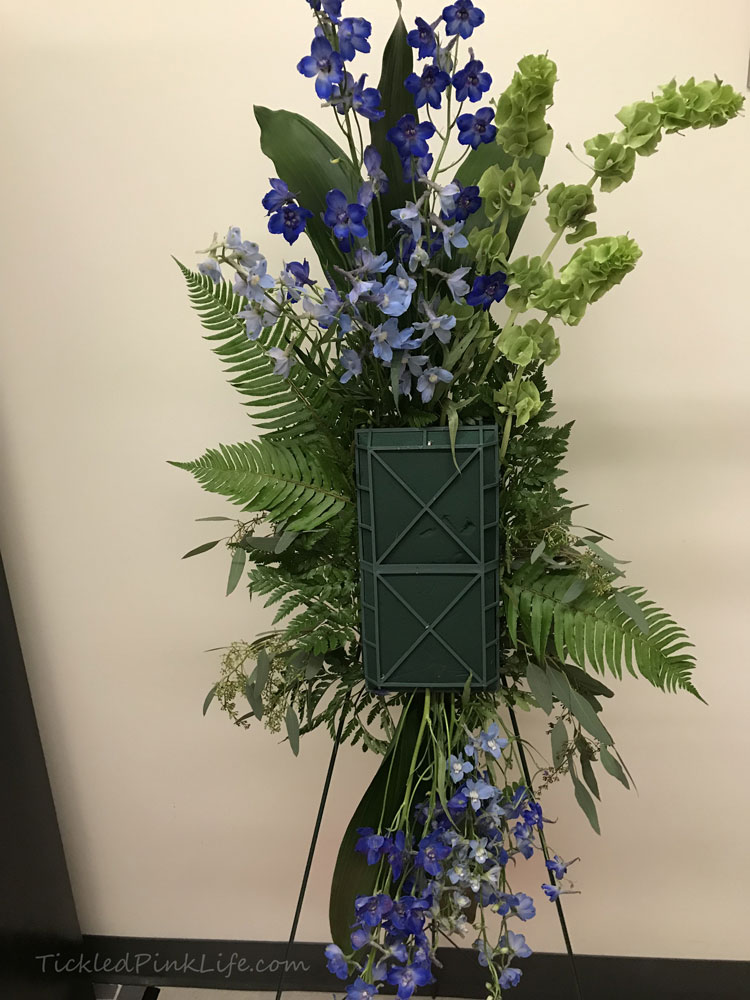 Dark and light blue delphinium stems were placed as vertical accents—the top ones about center which sprayed to the left, and the bottom ones about center which sprayed to the right. Overall, that put the delphiniums on a left angle to the vertical center of the aspidistra leaves, leaving room for a right angle balance with callas and Bells of Ireland.
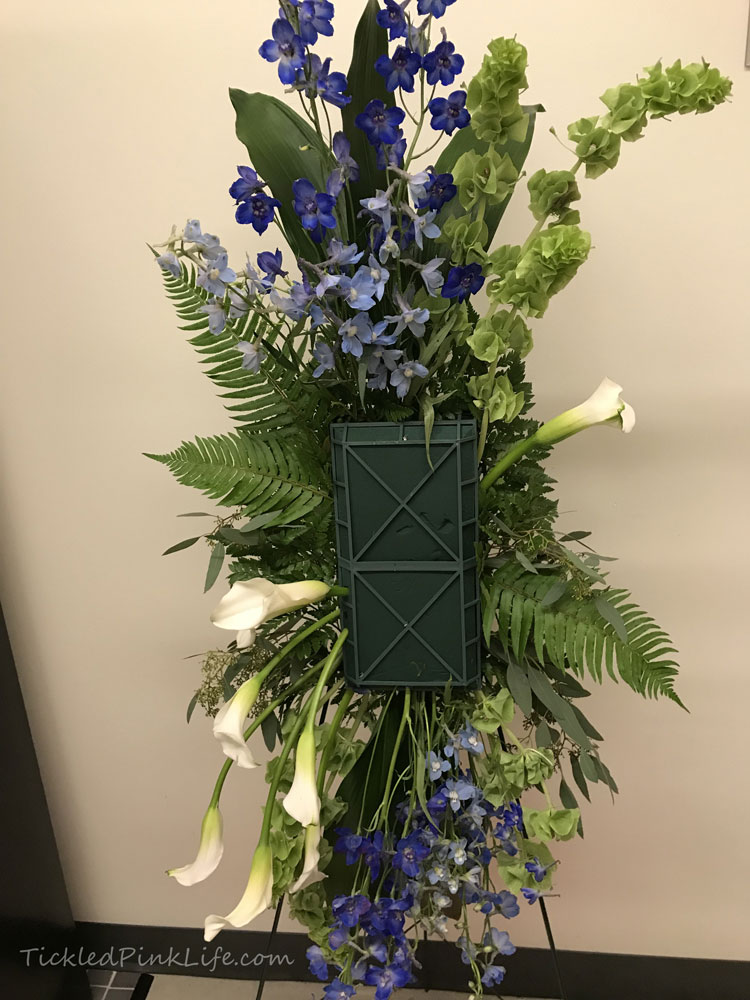 Here the calla lilies spray opposite the Bells of Ireland, and help to define the overall shape of the arrangement.
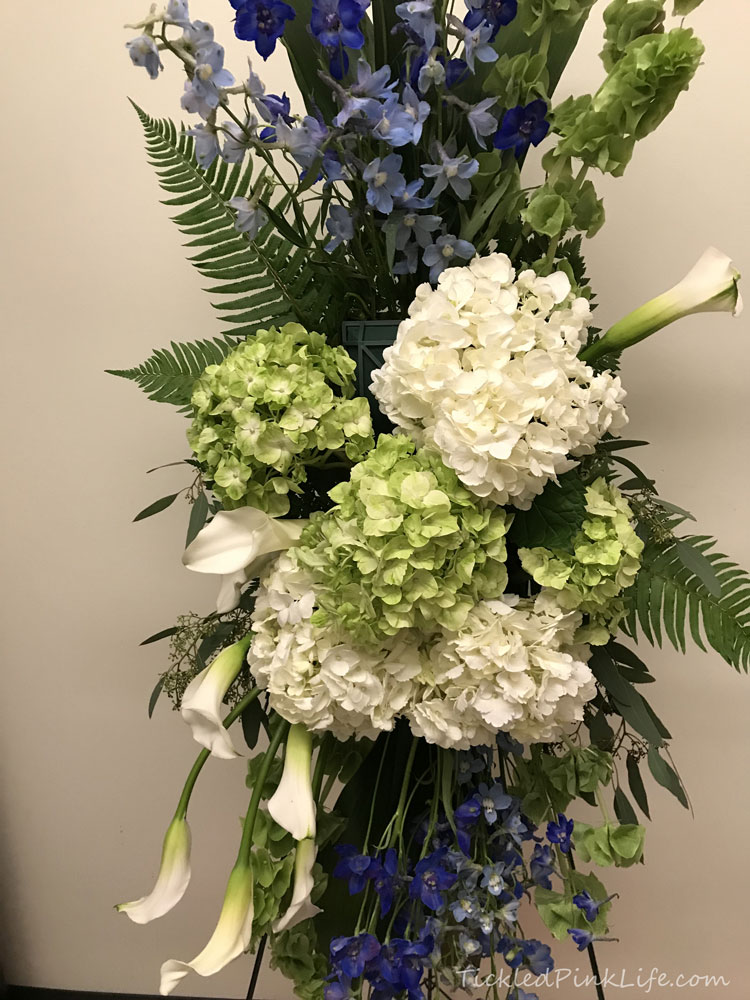 The hydrangeas are used to anchor the center of the design.
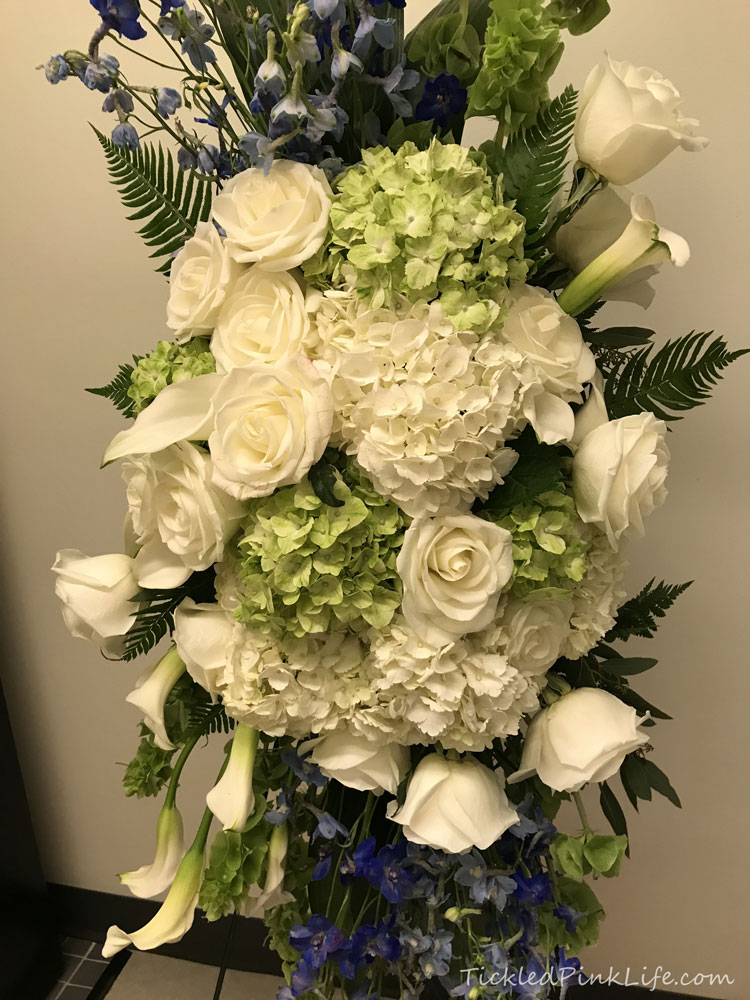 The roses are added last to fill in where needed. Once the arrangement looks about right from the front, I evaluate each part of it to check for holes. It is very important to look at the arrangement from every angle, to make sure there are no areas where guests can see exposed oasis. I try to keep in mind where people will be seated or standing at the event to determine at which angles they will be viewing the flowers, so I can make sure there is coverage on every side.
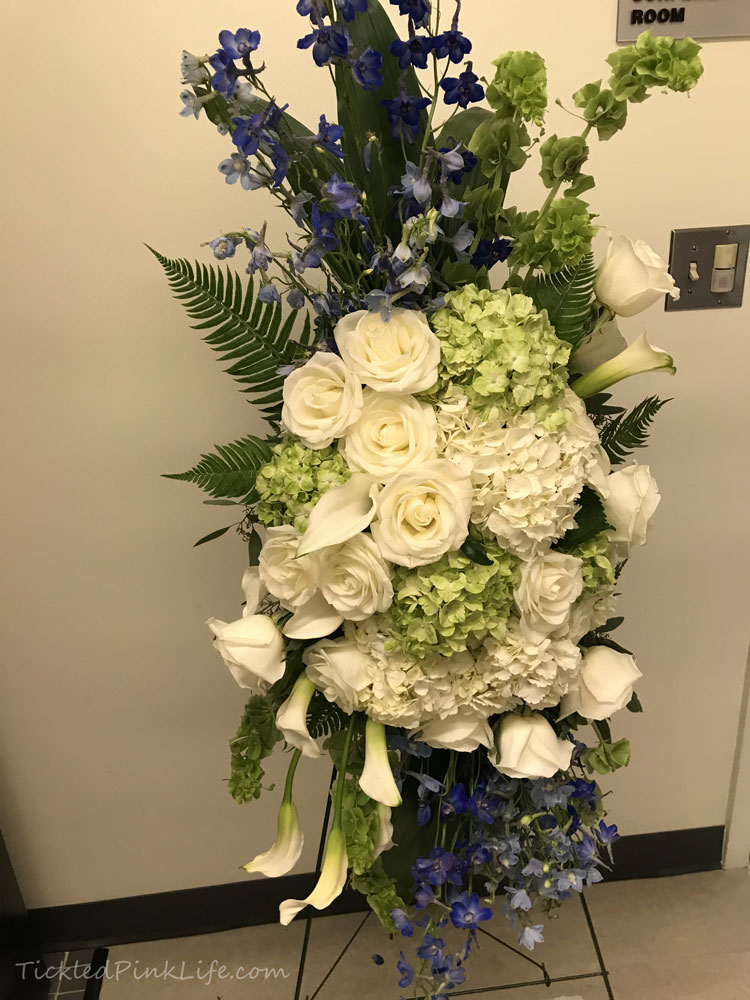 A finishing spray helps to keep the completed arrangement hydrated. For overnight storage, I removed the spray from the stand, placed it flat on a towel and added some more water to the oasis. It was fine in a cool room until delivery time the following morning.
It’s good to remember that excess water will run out of the spray when it is first inverted so have a towel handy, or invert the arrangement outside before bringing it indoors for re-hanging onto the stand and final placement at the event.
 I hope you enjoyed this little flower tutorial and that it provided some great tips for your next DIY floral spray project!
On the journey toward Home,


